
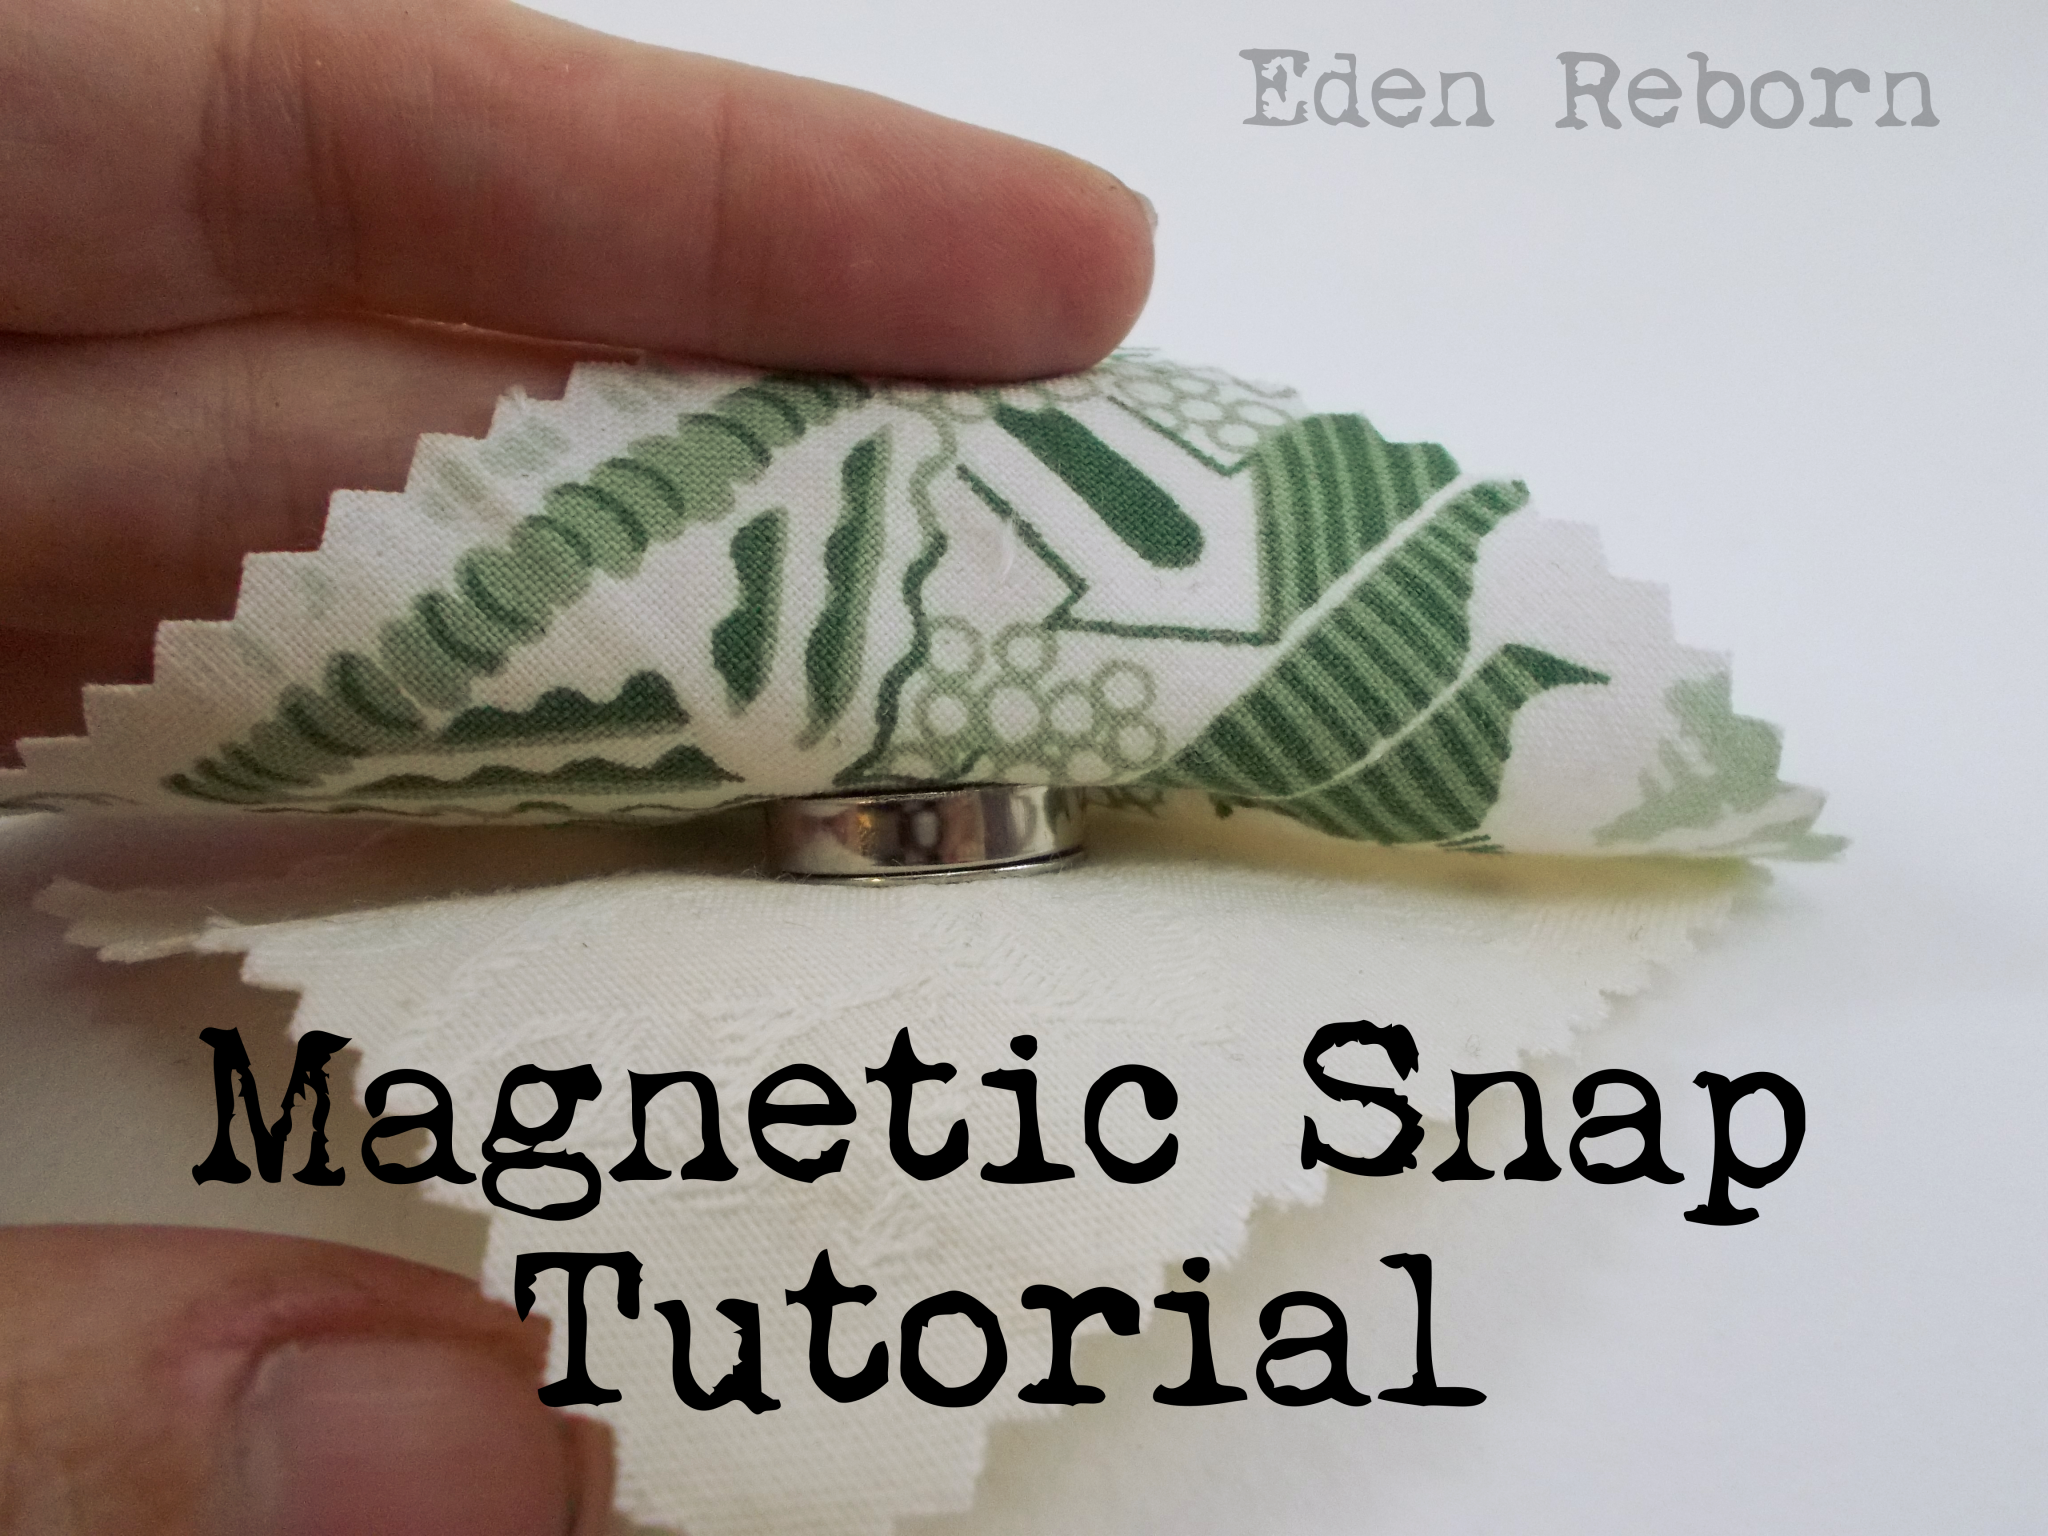
One of the things I love about Instagram is the sense of community and camaraderie on there. So when one of the lovely ladies I follow asked me if I had any tips for inserting a magnetic snap, I offered to do a photo tutorial. After all it has been sooo long (too long) since I last blogged so committing myself to this meant I had no excuses.
Without further ado then we are going to dive straight in to the how to pics…
Oh hang on, first up I should say that I am kind of assuming that you know where you are going to put your snap. Magnetic snaps are usually used for fastening bags and they work best for flaps or ‘touch and close’ styles. I’m sure that you could use them for something different but these are what I have used them for. Feel free to let me know other suggestions.
Anyway, if you are following a paper pattern then there should be a marking that will indicate where to put your snap. If you are living on the edge and winging it, you are going to have to work out where it goes for yourself. Just remember to take into account any seam allowances or other weird stuff that might play a part on where your flap sits.
I am going to assume that you do where to put it.
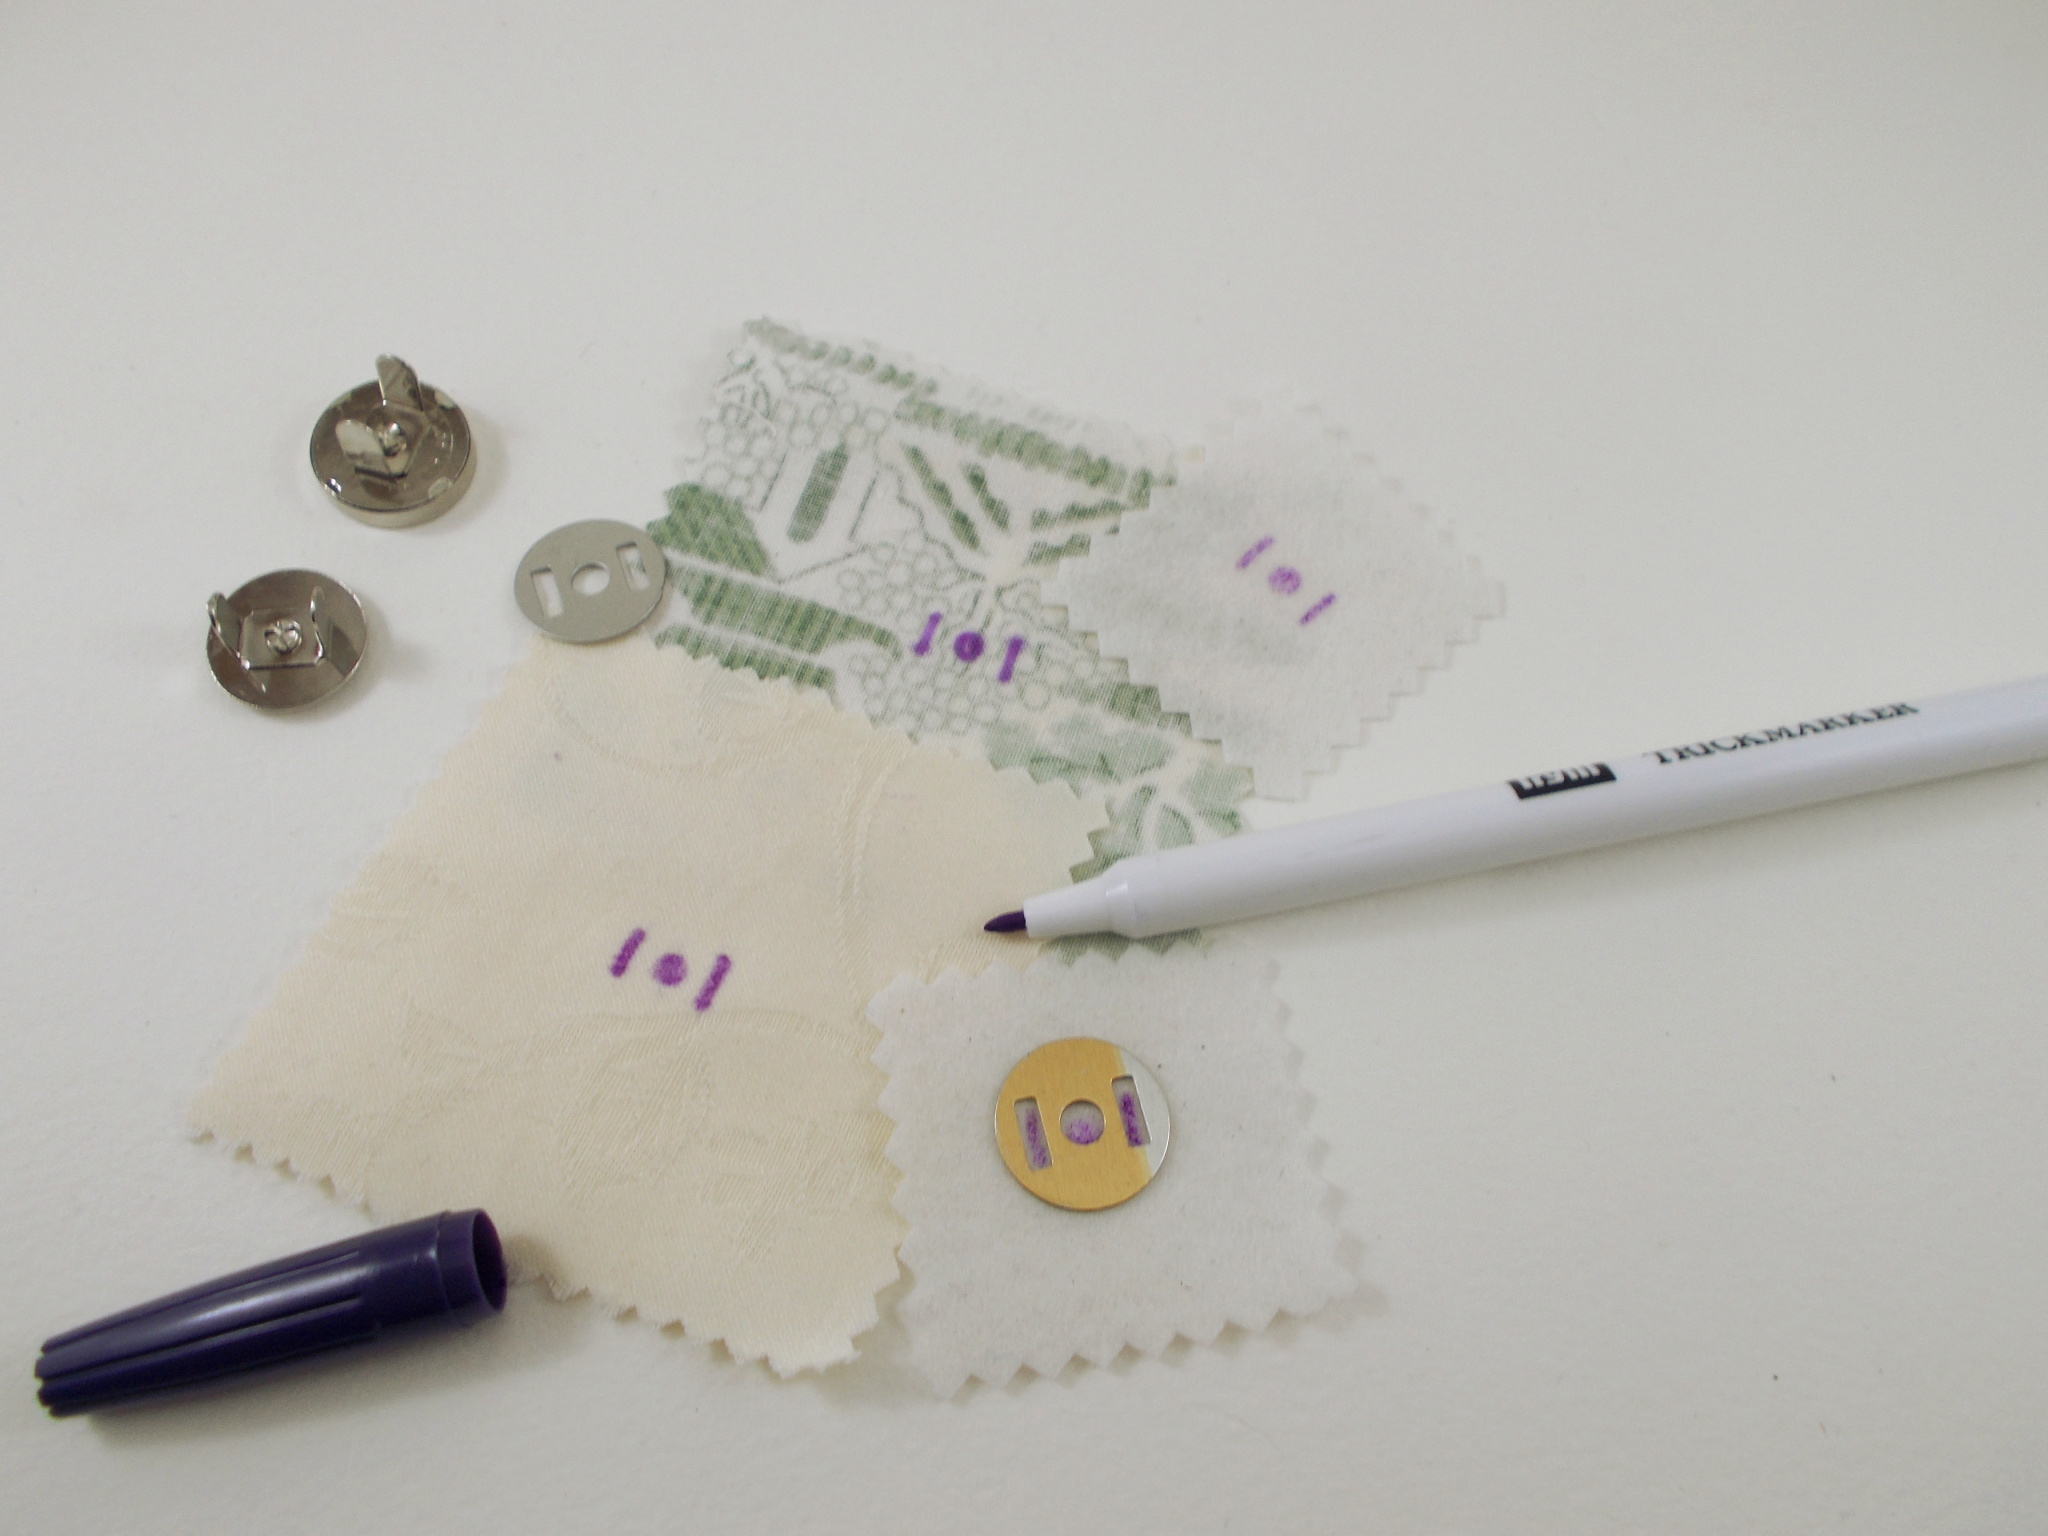
To create your snap fastening you are going to need
- a magnetic snap (obviously!)
- your fabric
- two small pieces of craft or heavy weight interfacing, measuring about twice the width and height of your snap. (You could probably use felt or something like denim too if you haven’t got any interfacing)
- something to mark your fabric like tailor’s chalk, my favourite – an air dissolving pen or if you really want you can do mark it with tailor’s tacks. Whatever takes your fancy, as long as it isn’t permanent or going to bleed through and leave a horrible mark.
- something to cut your fabric with. I use small embroidery scissors but you can also use a hole punch if you so wish.
Ok so now you have all that, the magnetic snap photo tutorial can really begin…
Step 1
 First up you are going to mark the position of the snaps on the WRONG side of the fabric. I use the the backing disc as a guide and mark both slits and the centre hole so I can line everything up later. Close up time…
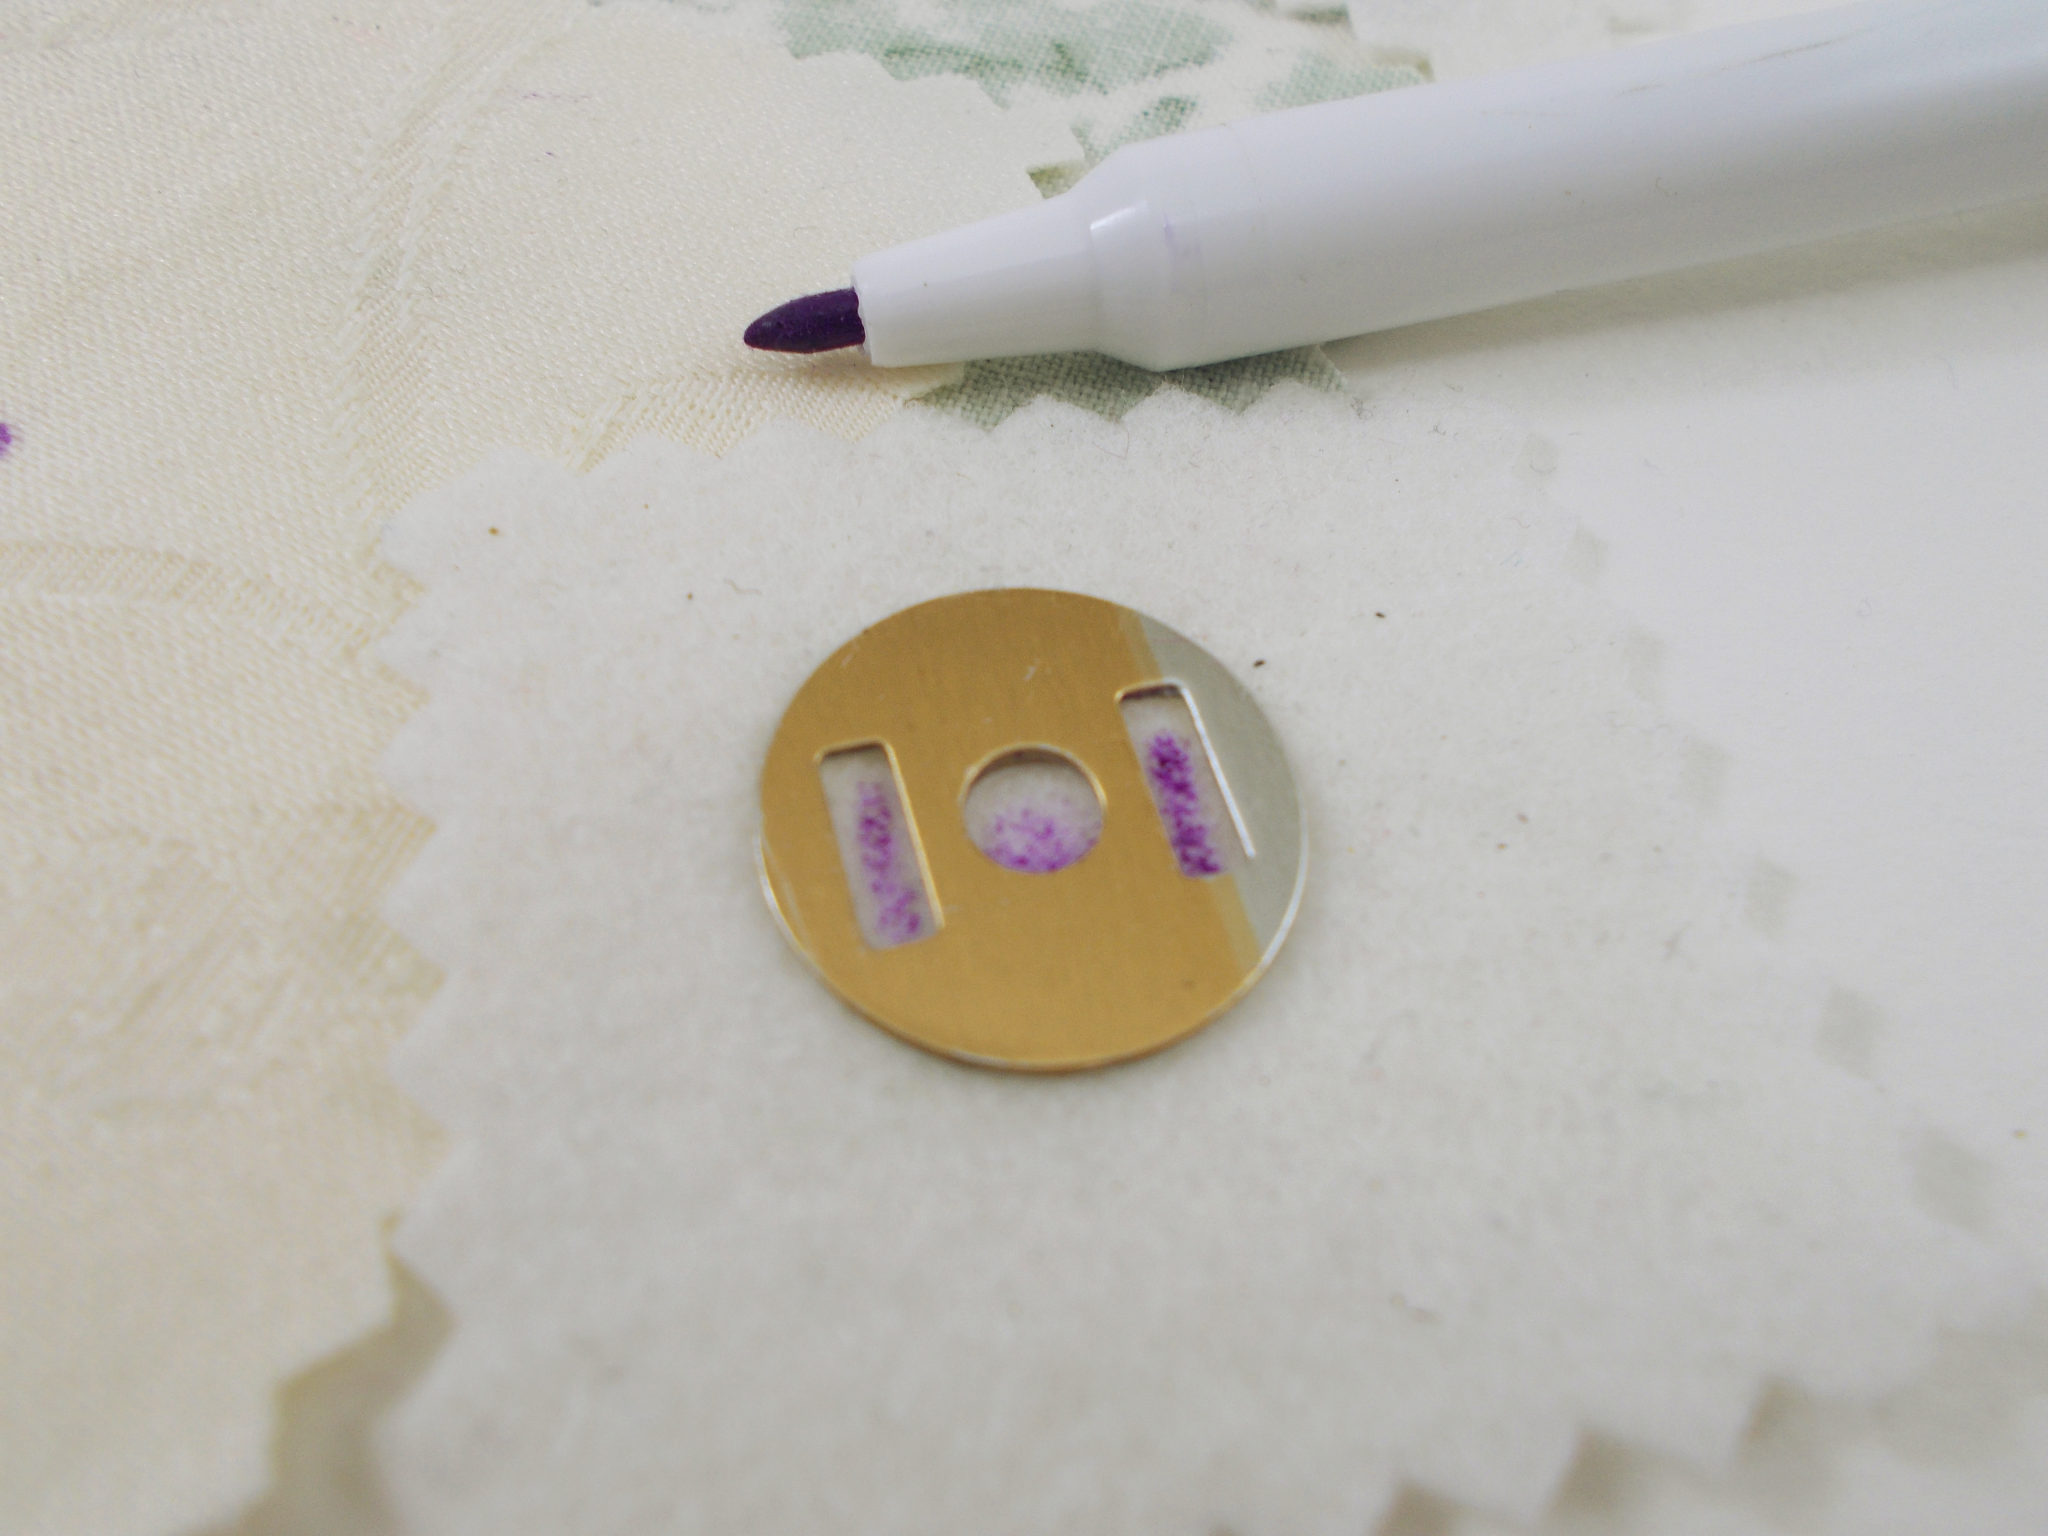
Make sure you have done this on all four pieces of material (both your fabric pieces and both pieces of interfacing) and then CAREFULLY snip the slit markings with scissors, or your hole punch. Don’t go crazy here. The slit only needs to be wide enough to fit the prongs of your snap through. Do this for all four pieces of material.
 Notice how I didn’t tell you to cut the centre dot? That’s because you don’t. You only use that to help you line up your snap when you put it on your fabric. so please don’t cut it!!!! It will make your fabric weaker and then your snap will eventually pull out and then you’ll hate me. So don’t freaking cut it! OK?
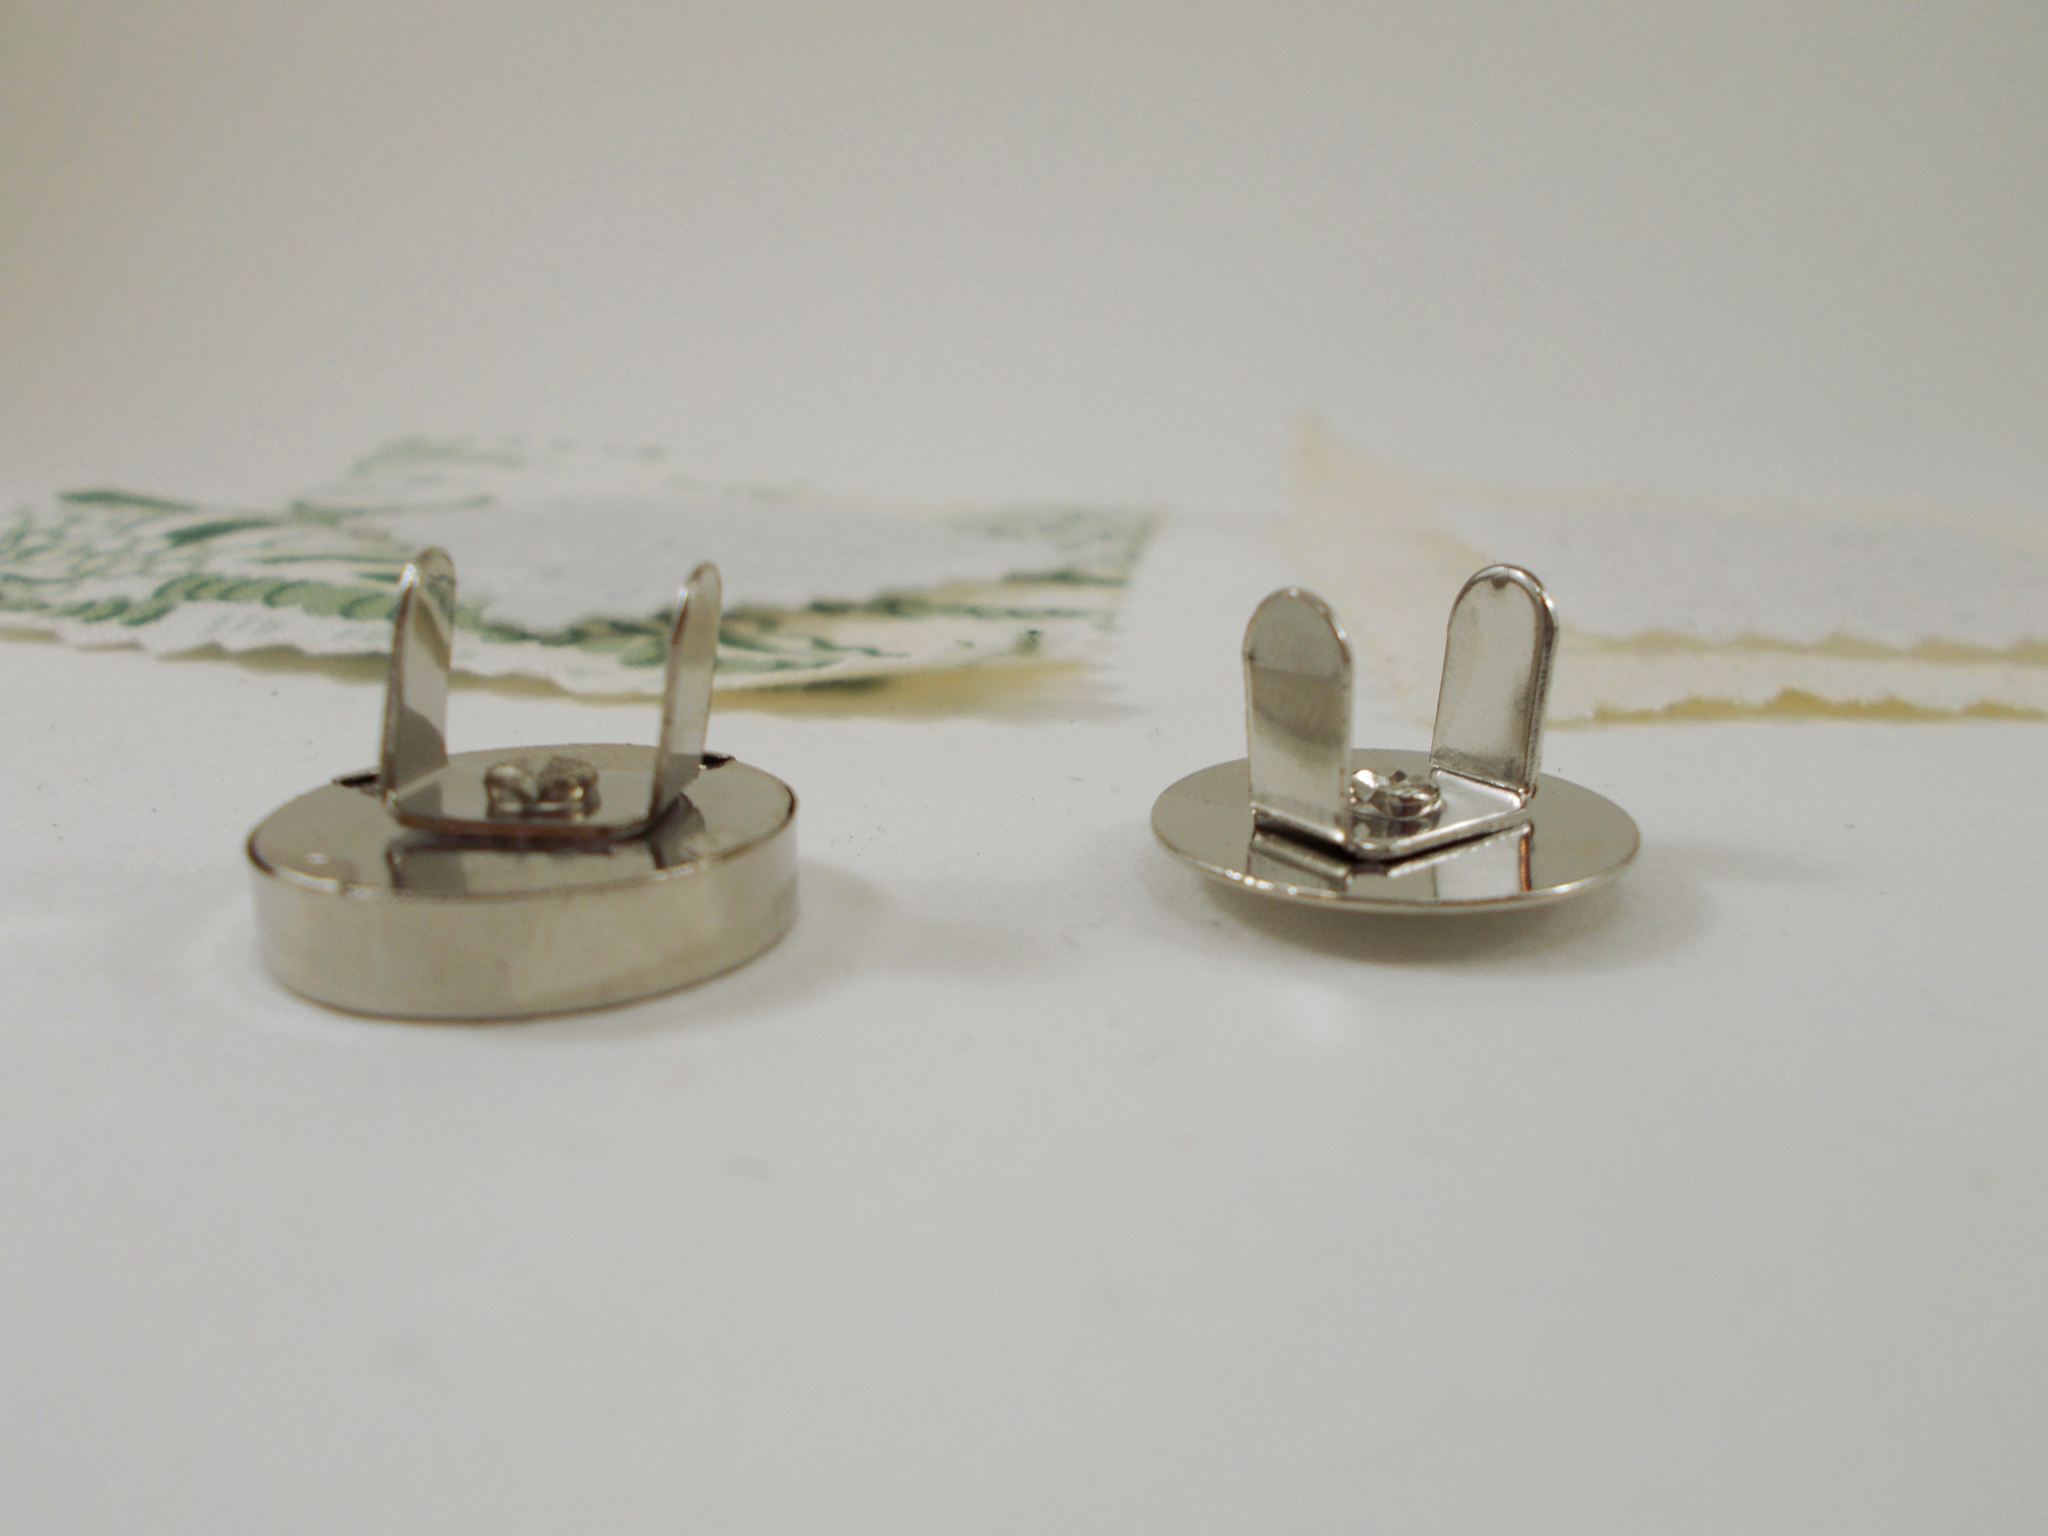
A quick note, before the next step. If you are making a flap bag you are going to be wanting to put the non-magnetic half of your snap on the flap and the magnetic part on the body of the bag itself. This is because the magnetic part is heavier and will be more secure on the actual bag. If your not sure which is which either go find yourself a pin or something metal and see which side sticks to it or look at this photo and you’ll see that the magnetic part is (usually) the thicker of the two parts. If you are making a ‘touch and close’ bag it doesn’t really matter which part goes on which side.
So now you have confirmed which part goes where and you have four cut bits of material you are going to push the prongs of your snap through your fabric, then through one piece of interfacing and then through the backing disc. The wrong side of your fabric should look like this…

and the right side of your fabric should look like this…
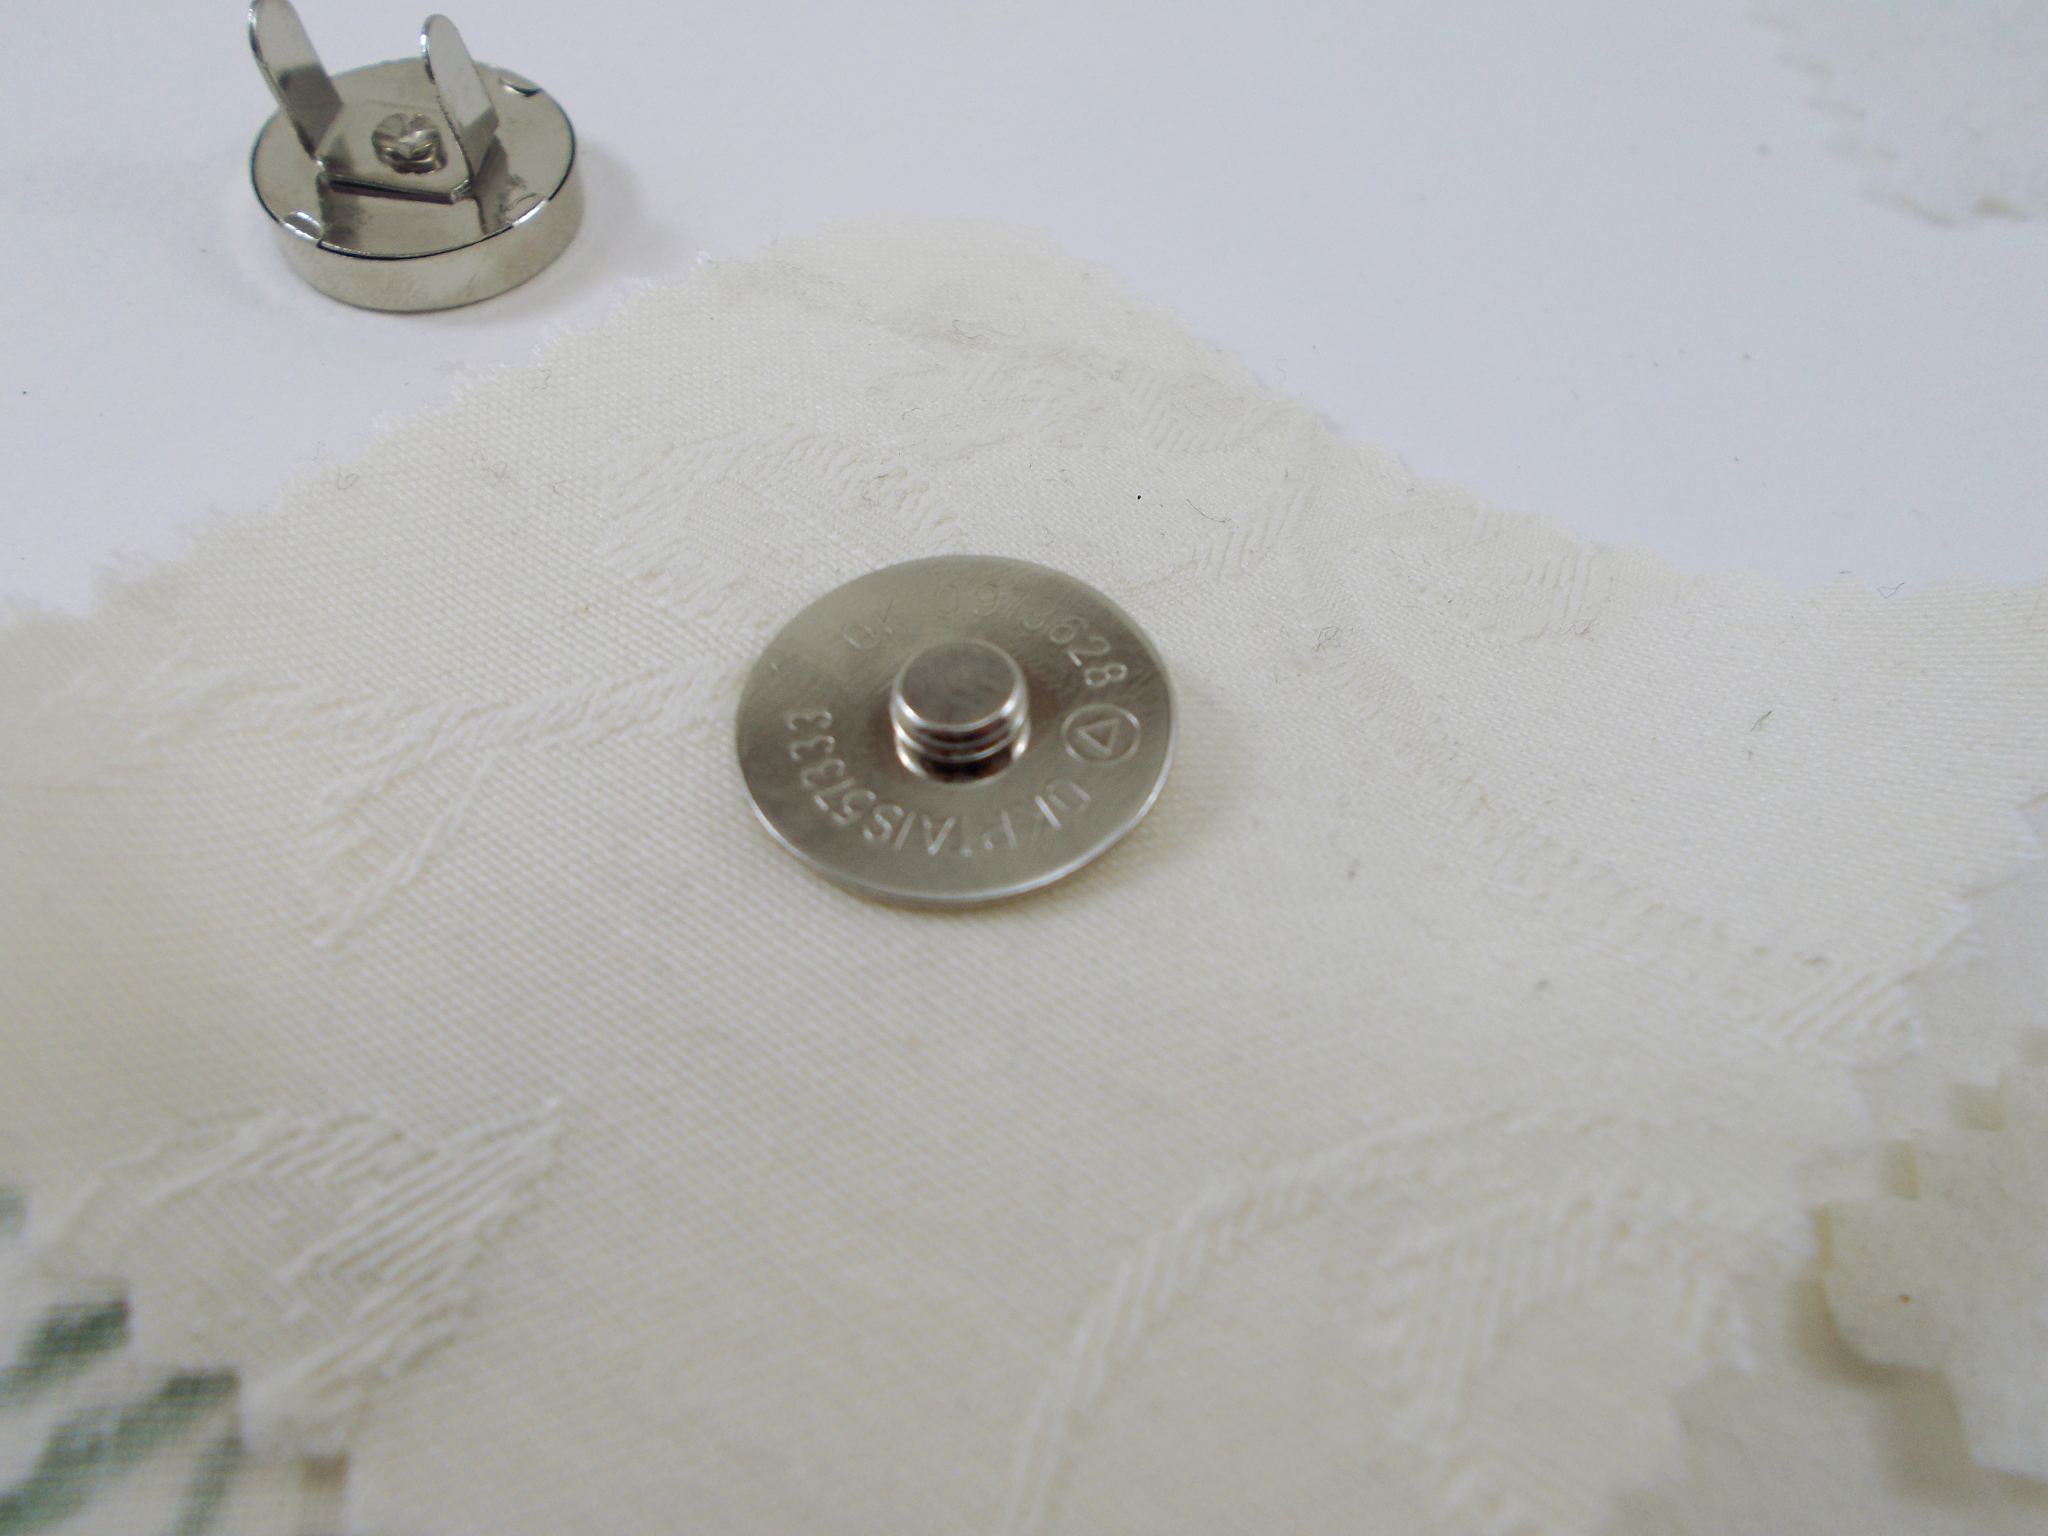
Yes I know I should have used the green print fabric for this photo because it would have made it clearer for you but I didn’t. Sorry. I won’t do it again, promise. So just trust me that the above photo is of the RIGHT side of the fabric (and if you were making a flap bag, this would be the flap part). Double check that everything is the right way round and then push the prongs AWAY from each other like this…

I tend to just use my fingers (because I’m super strong, ummm, maybe not) but if you want you can use some pliers. If you chose pliers then I suggest that you make sure you put a scrap of fabric between the metal of the tool and the metal of the the snap because otherwise you can mark your metal. Whichever way you choose you want to make sure the prongs are fully flat. Then repeat with the other side.

See how your interfacing is on the wrong side of your fabric here? This is how you want it, otherwise you are going to find your snap facing the wrong way when you sew the whole thing together. And that would just be silly and frustrating. And you would never find me doing something like that. Oh wait… Yes, I have done that before. D’oh.
Now everything is secure you can both pieces over and think ‘oh wow, that looks cool!’
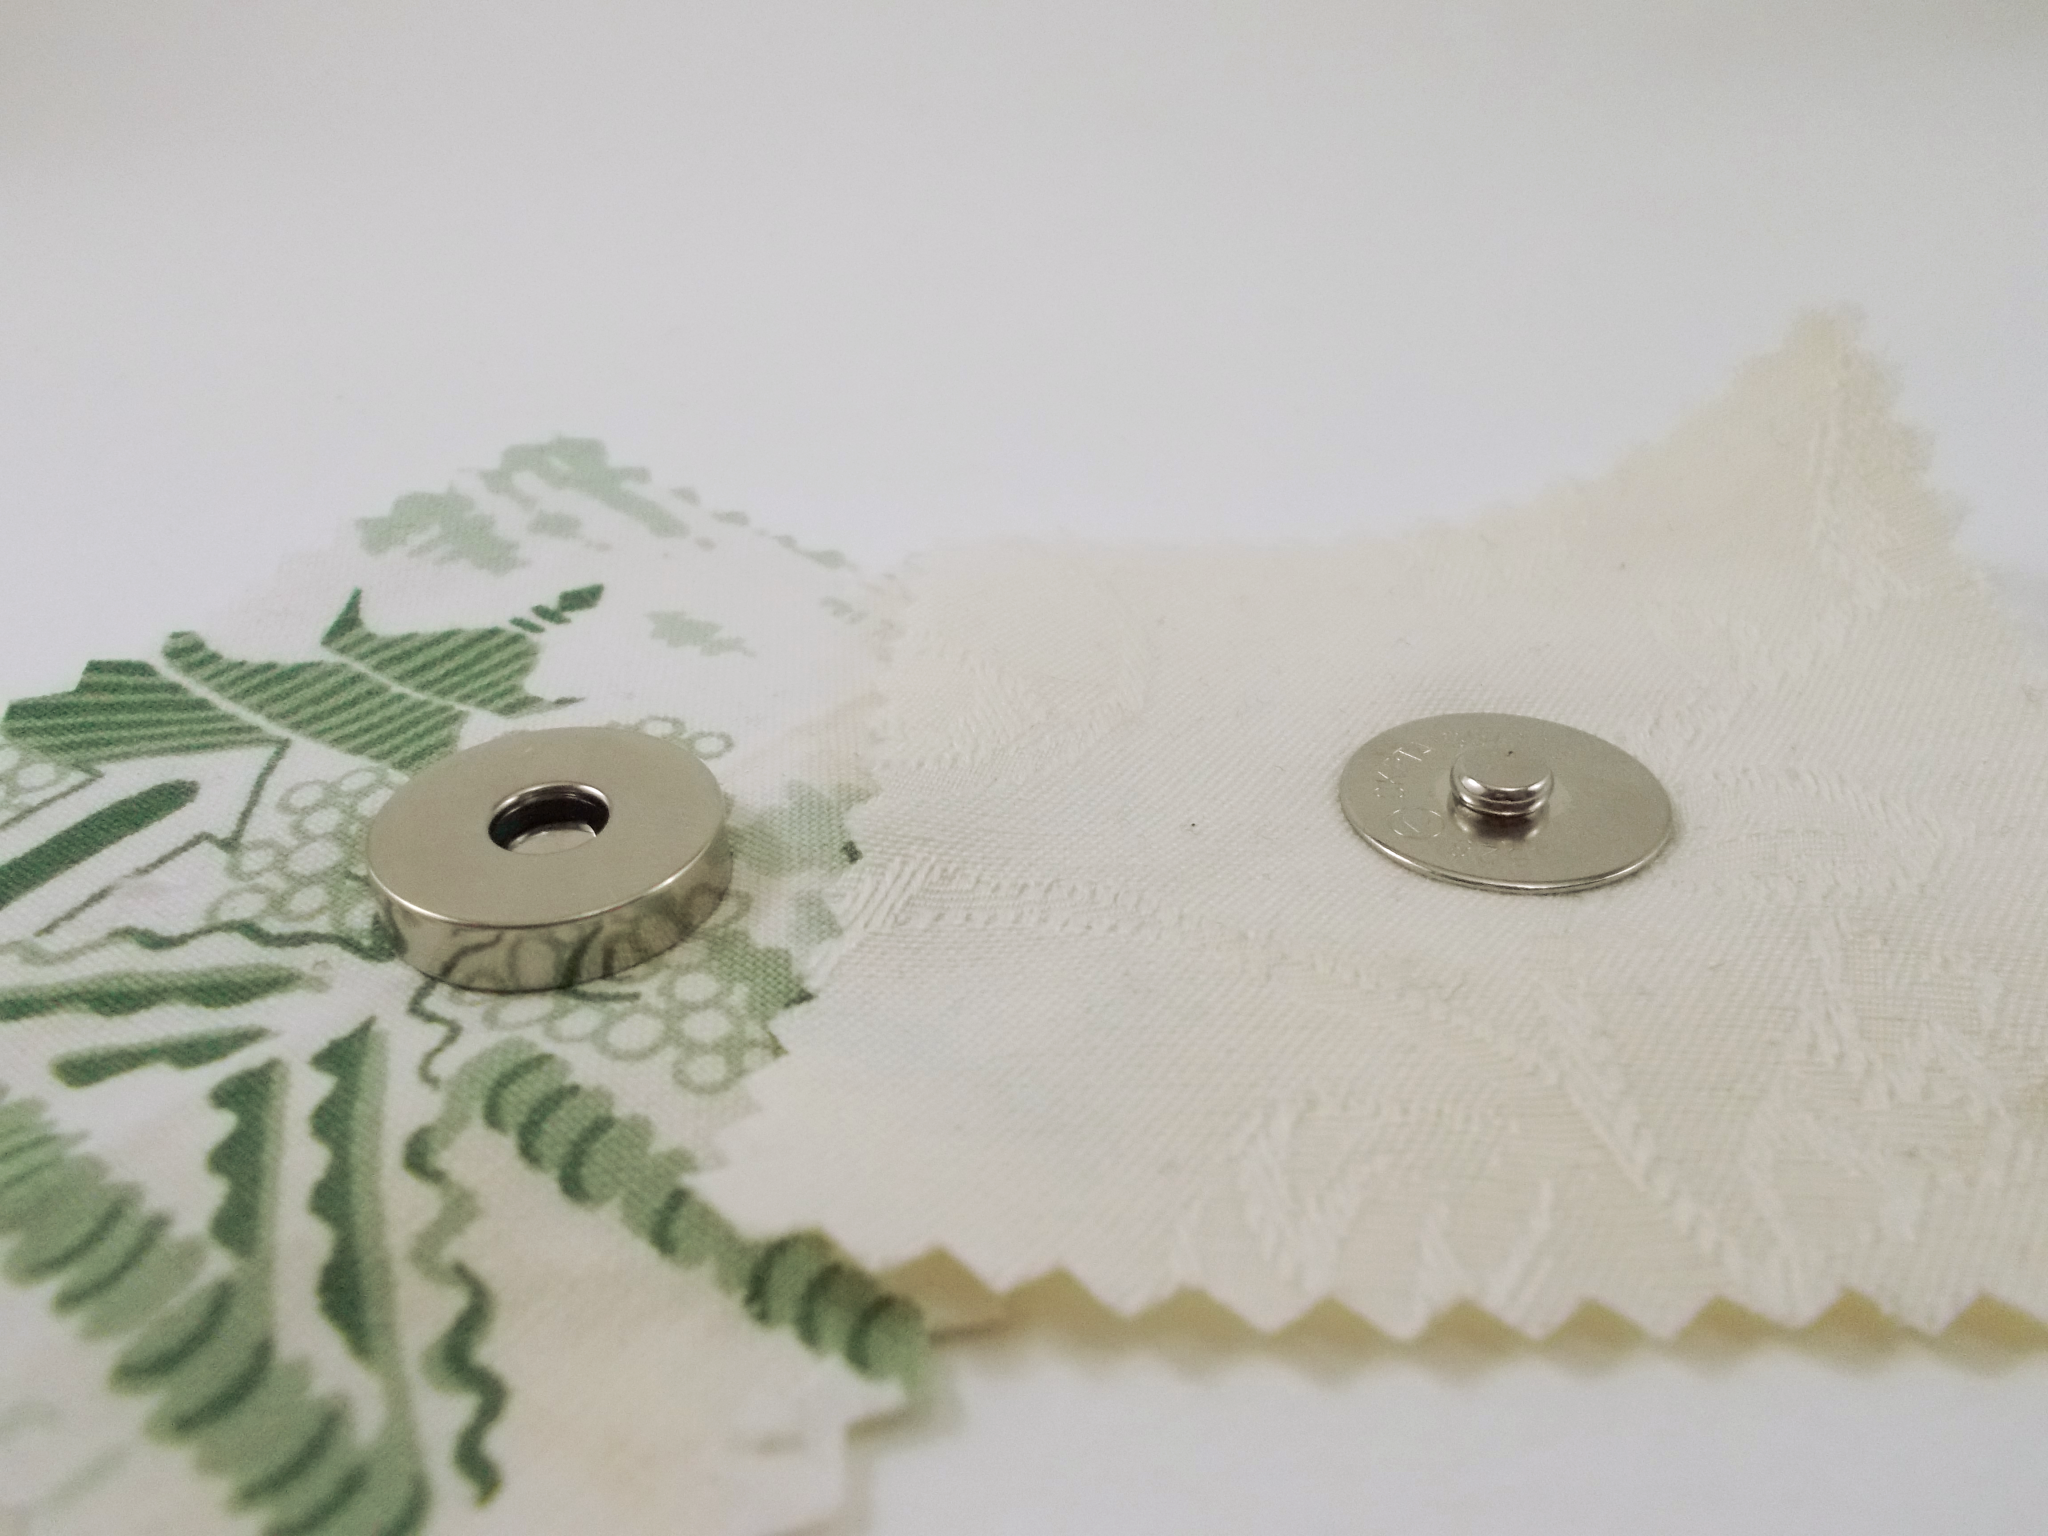 And then let them snap together and, unsnap them. Repeat as many times as you like.
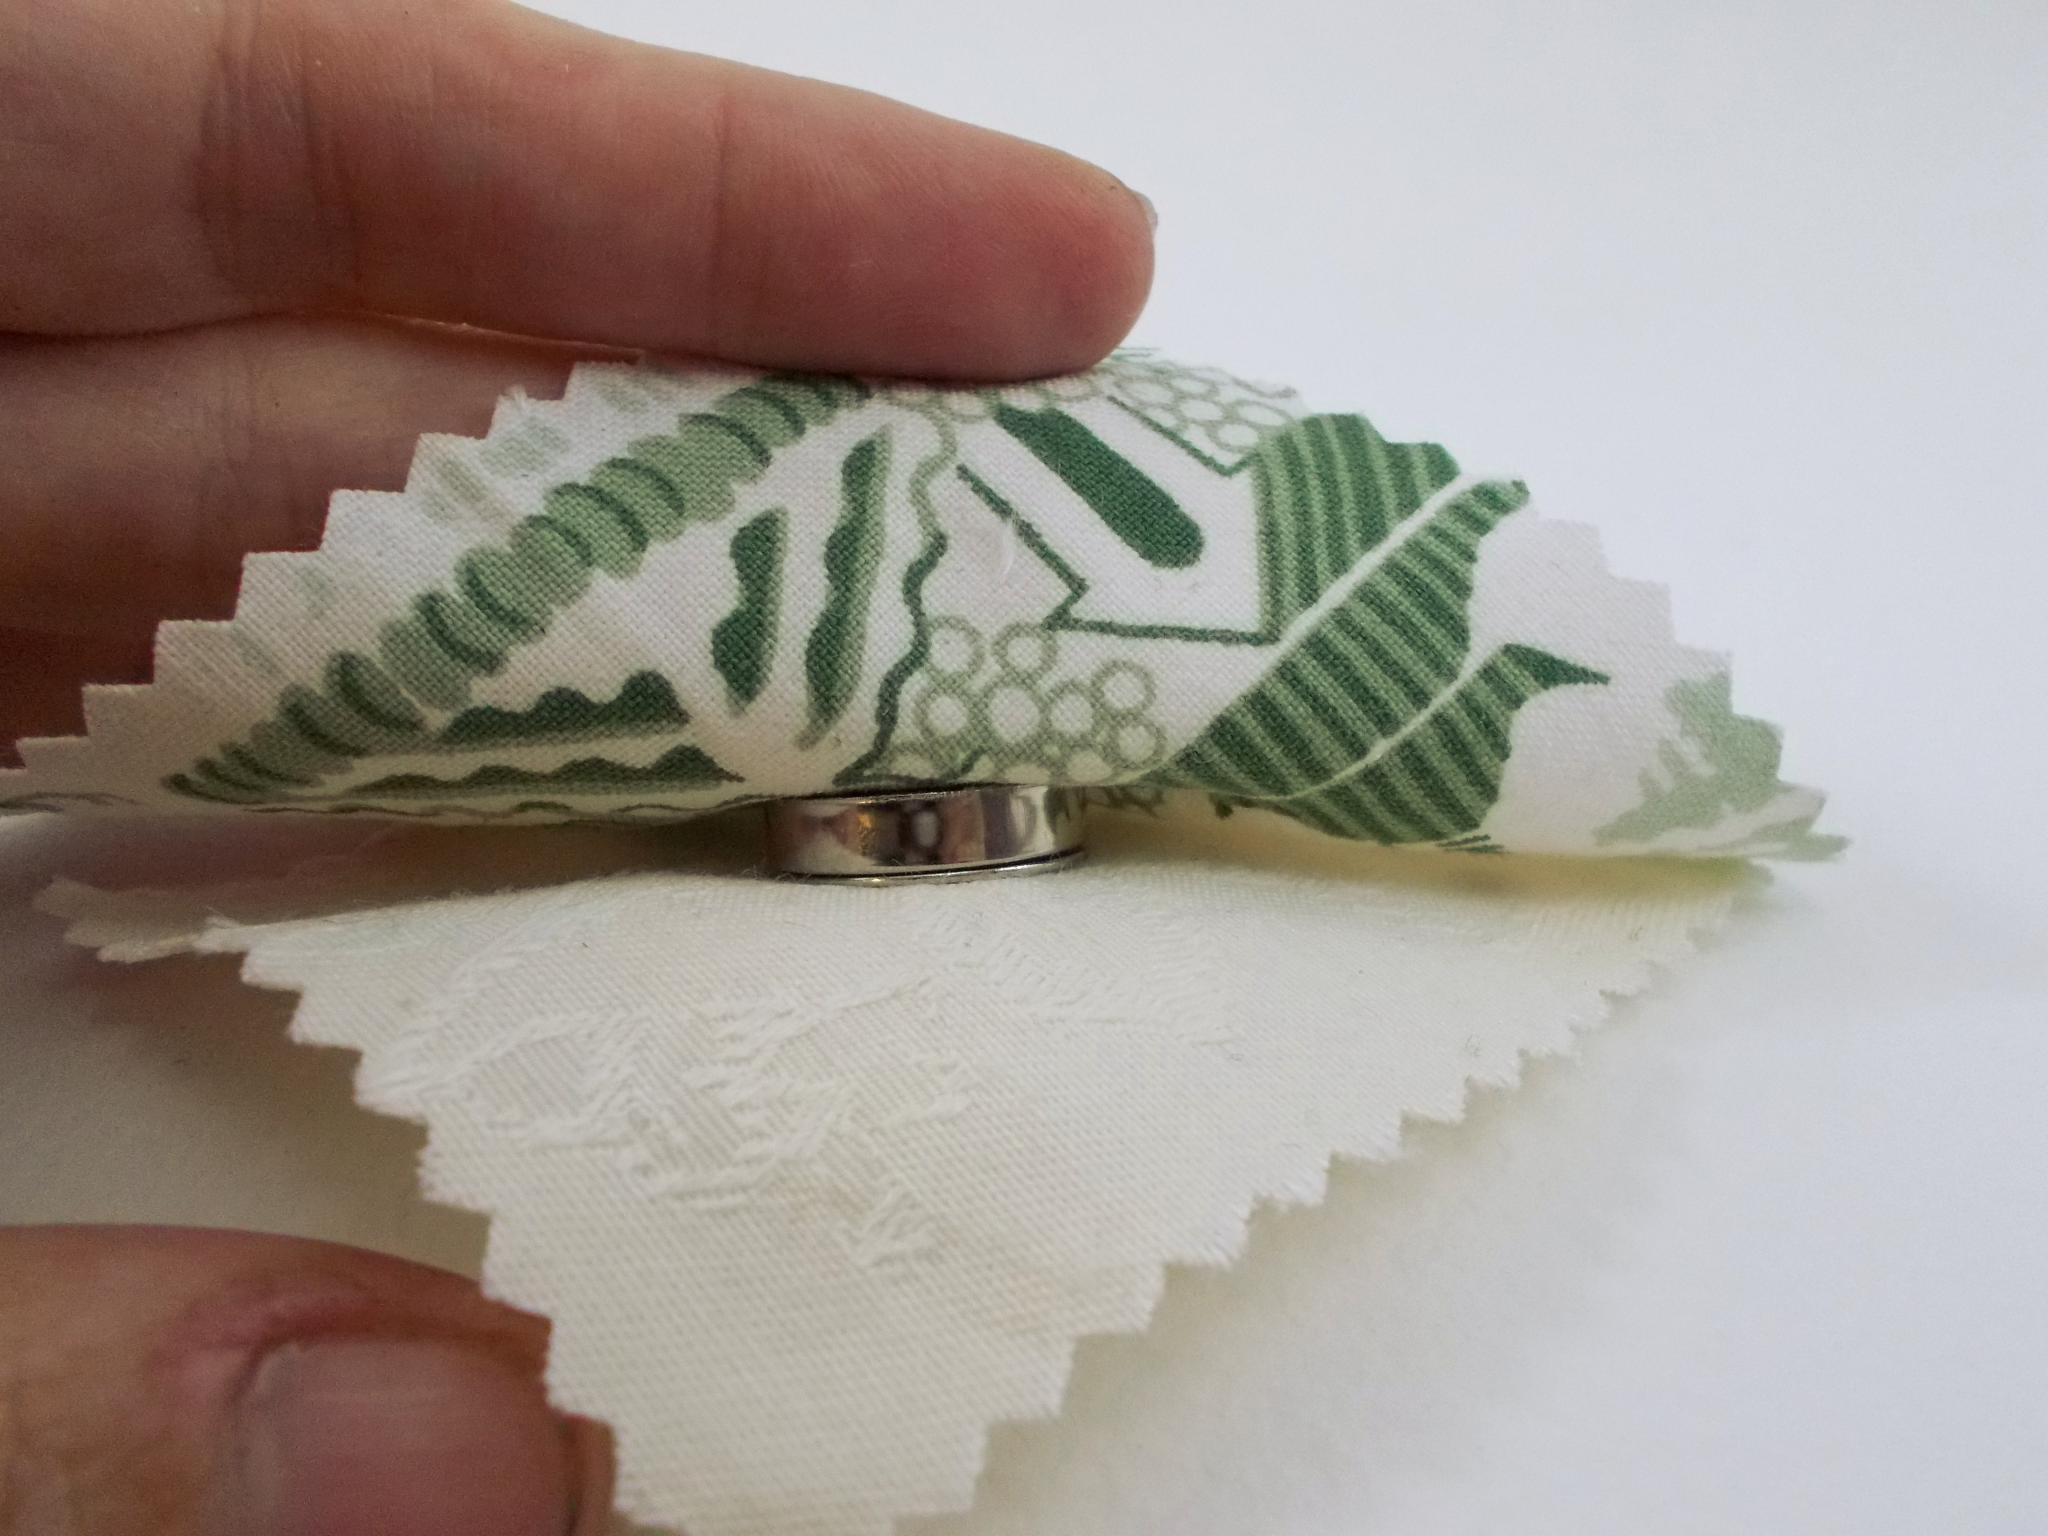
Finally, go pat yourself on the back because you ROCK! Now you can make loads of professional looking bags in funky fabrics that will be the envy of your friends. HURRAH!
If you would like a tutorial of something I’ve made, follow me on Instagram @edenreborn.
Or let me make something for you by requesting a custom order via my Etsy store
Happy making!
